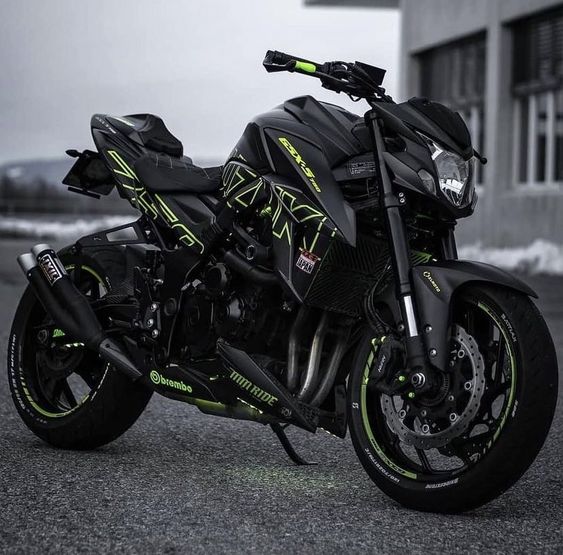
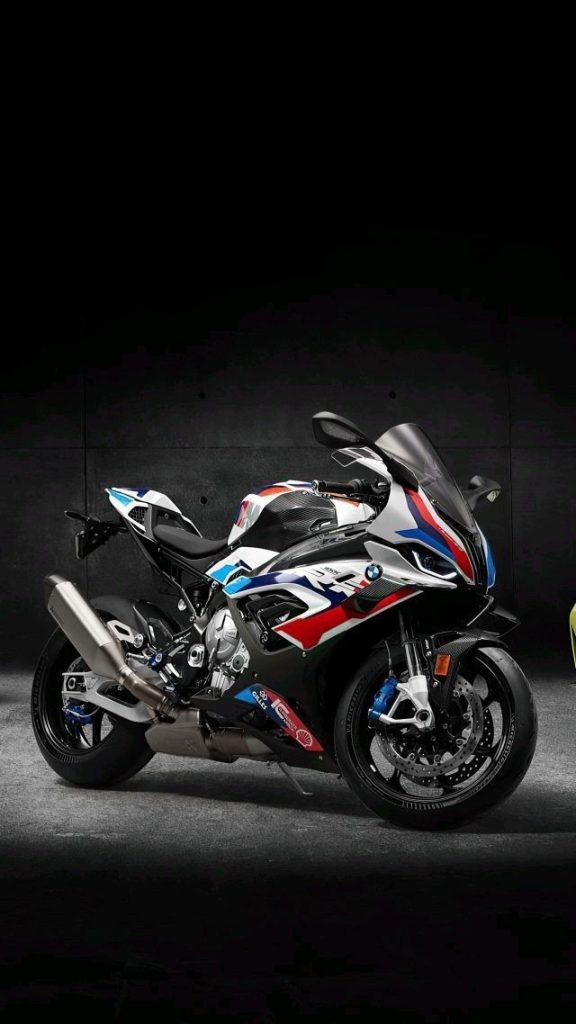
For motorcycle enthusiasts, personalization is everything. It’s about expressing your unique style and standing out on the road. Vinyl wrapping your motorcycle offers a fantastic way to achieve a custom look without resorting to expensive paint jobs. This comprehensive guide dives into everything you need to know about wrapping your motorcycle, from essential tools and materials to step-by-step instructions and expert tips.
Why Choose Vinyl Wrap for Your Motorcycle?
There are several compelling reasons to choose vinyl wrap over traditional paint for your motorcycle:

- Versatility: Vinyl wraps offer a vast array of colors, finishes, and even textures to transform your motorcycle’s appearance. From sleek chrome to wild graphics, the possibilities are endless.
- Reversible: Unlike paint, vinyl is removable. If you decide to change your motorcycle’s look down the line, you can simply peel off the wrap and return it to its original state.
- Protection: High-quality vinyl wraps act as a protective layer, shielding your motorcycle’s paint from scratches, UV rays, and minor weather elements.
- Cost-Effective: Compared to a professional paint job, vinyl wrapping is generally a more affordable option, especially for complex designs.
Before You Begin: Gathering the Necessary Supplies
Before embarking on your motorcycle wrapping adventure, ensure you have the essential tools and materials:
- Vinyl wrap: Choose a high-quality vinyl wrap designed specifically for vehicle applications. Consider factors like color, finish, conformability, and durability.
- Heat gun: A heat gun is crucial for activating the adhesive on the vinyl and ensuring a smooth, flawless application.
- Squeegee: A squeegee helps you apply the vinyl evenly and eliminate air bubbles during the wrapping process.

- Sharp utility knife: A sharp knife is necessary for trimming the vinyl precisely around edges and corners.
- Cutting mat: A cutting mat protects your work surface from accidental knife cuts.
- Spray bottle filled with soapy water: A soapy water solution allows you to reposition the vinyl during application for optimal placement.
- Microfiber cloths: Microfiber cloths are ideal for cleaning and prepping the motorcycle’s surface before wrapping.
- Masking tape: Masking tape can be helpful for masking off specific areas you don’t want wrapped.
- Isopropyl alcohol: Isopropyl alcohol is a great degreaser to ensure the motorcycle’s surface is free of oils and contaminants that could hinder adhesion.
Preparing Your Motorcycle for the Wrap
Proper preparation is paramount for a successful vinyl wrap application. Here’s what you need to do:
- Thorough cleaning: Wash your motorcycle thoroughly with a gentle soap and water solution. Remove any dirt, grime, or wax residue that could affect adhesion.
- Degreasing: Once clean, thoroughly degrease the motorcycle’s surface using isopropyl alcohol. Pay close attention to areas where the vinyl will be applied.

- Inspect and address imperfections: Carefully inspect the motorcycle’s surface for any existing scratches, dents, or unevenness. Sand down any minor imperfections to create a smooth canvas for the vinyl.
- Disassemble (optional): For a more professional finish and easier wrapping, consider removing certain motorcycle parts like fairings, handlebars, and seats. However, this step is optional and depends on the complexity of your wrap design.
The Art of Wrapping: A Step-by-Step Guide
Now that you’re prepped and ready, let’s delve into the vinyl wrapping process:
- Plan the layout: Before starting, plan the layout of the vinyl wrap on the motorcycle. This helps visualize the application process and identify any potential challenges.
- Start with larger panels: Begin by tackling the larger, flatter panels of your motorcycle first. These are generally easier to work with and establish a foundation for wrapping the more intricate areas.
- Heat and apply: Using your heat gun, gently warm a small section of the vinyl at a time. This activates the adhesive and makes the vinyl more pliable for maneuvering. Carefully apply the warmed vinyl to the motorcycle’s surface, aligning it precisely with your planned layout.
- Squeegee and eliminate air bubbles: Use the squeegee to apply even pressure and smooth out the vinyl onto the surface. As you work your way across the section, meticulously remove any air bubbles trapped underneath the vinyl using the squeegee or your fingers.
- Wrapping curves and corners: Wrapping around curves and corners requires more finesse. Use the heat gun strategically to increase the vinyl’s flexibility and gently mold it onto the surface. Trimming small sections of the vinyl with your sharp knife can also facilitate a smooth application around tight corners.
- Trimming and finishing touches: Once the vinyl is applied to all sections, use your sharp knife and cutting mat to meticulously trim away any excess vinyl around the edges. Tuck the trimmed edges underneath any removable panels or moldings for a clean, finished look.
Expert Tips for Flawless Vinyl Wrap Results
Here are some additional tips from seasoned vinyl wrappers to elevate your project:

- Work in a clean, well-lit environment: A clean workspace free of dust and debris minimizes the risk of contaminants getting trapped under the vinyl. Good lighting allows you to see imperfections and ensure a flawless application.
- Patience is key: Vinyl wrapping requires patience and meticulous attention to detail. Don’t rush the process; take your time to ensure each section is applied smoothly and free of bubbles.
- Practice on scrap material: Before tackling your motorcycle, practice applying the vinyl on a small piece of scrap material. This helps you get comfortable with the heat gun, squeegee, and cutting techniques.
- Use a two-person team (optional): Having an extra set of hands can be incredibly helpful, especially when wrapping larger panels or complex curves.
- Post-wrap care: After wrapping your motorcycle, avoid washing it for at least 24-48 hours to allow the adhesive to fully cure. Use gentle handwashing techniques and avoid harsh chemicals that could damage the vinyl.
Maintaining Your Vinyl Wrap
With proper care, your vinyl wrap can last for several years. Here’s how to maintain its vibrancy and longevity:
- Regular washing: Wash your motorcycle regularly with a gentle soap and water solution. Avoid using high-pressure washers or harsh detergents that could damage the vinyl.
- Sun protection: Park your motorcycle in shaded areas whenever possible to minimize sun exposure. Excessive UV rays can cause the vinyl to fade over time.
- Avoid extreme temperatures: Extreme heat or cold can affect the vinyl’s flexibility and adhesion. Park your motorcycle in moderate temperatures whenever possible.
Unleash Your Creativity: Design Ideas for Your Motorcycle Wrap
The beauty of vinyl wrapping lies in its limitless design potential. Here are some inspirational ideas to spark your creativity:

- Classic solid colors: A sleek, single-color wrap exudes timeless elegance and allows the motorcycle’s form to take center stage.
- Two-tone or color combinations: Combine two or more complementary colors for a more dynamic and eye-catching look.
- Metallic finishes: Metallic wraps add a touch of luxury and sophistication to your motorcycle.
- Chrome accents: Chrome accents can add a unique, eye-catching element to your wrap design.
- Graphics and decals: Incorporate custom graphics, logos, or racing stripes for a truly personalized touch.
Invest in Yourself: The Satisfaction of DIY Vinyl Wrapping
While professional vinyl wrapping services are available, tackling the project yourself offers a rewarding sense of accomplishment and cost savings. With the proper preparation, tools, and techniques outlined in this guide, you can transform your motorcycle’s appearance and express your individuality on the road.
Embark on Your Vinyl Wrapping Journey!
Now that you’re armed with the knowledge and essential steps, don’t hesitate to embark on your motorcycle vinyl wrapping adventure. Remember, research specific wrapping techniques for your motorcycle model if needed. With dedication and these helpful tips, you can achieve a professional-looking, custom-wrapped motorcycle that reflects your unique style.