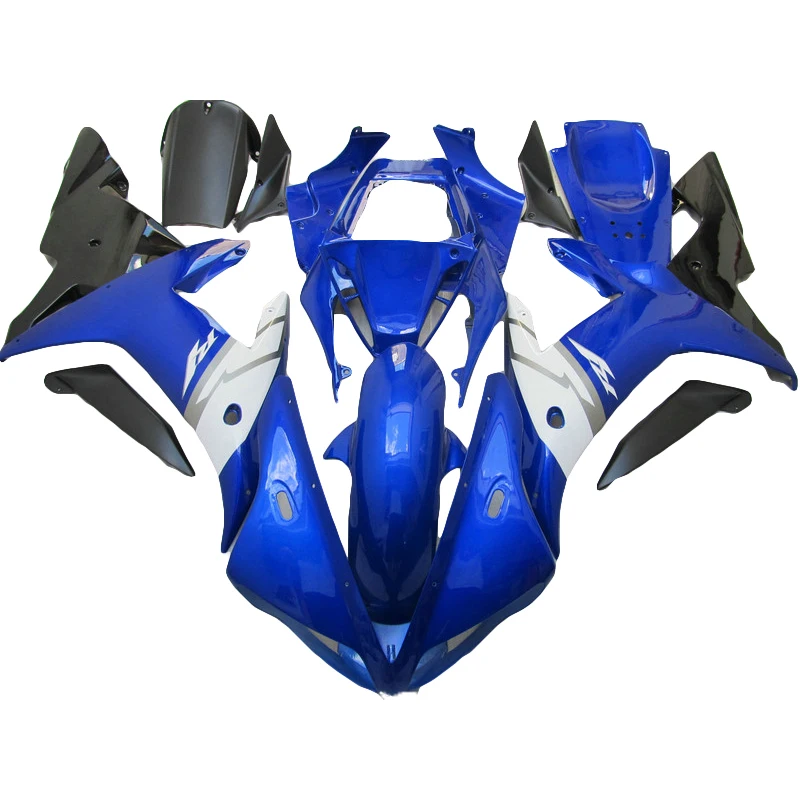
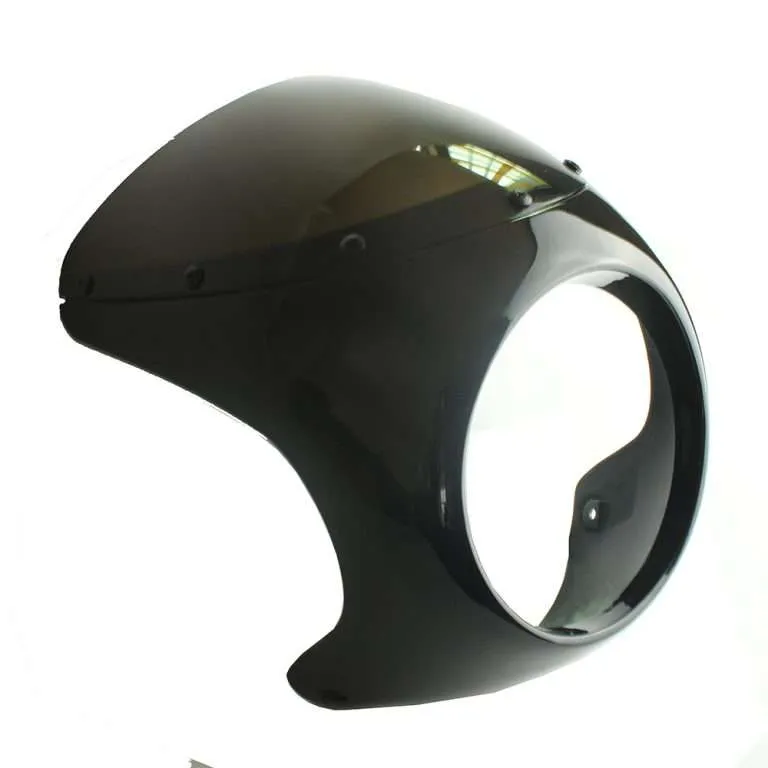
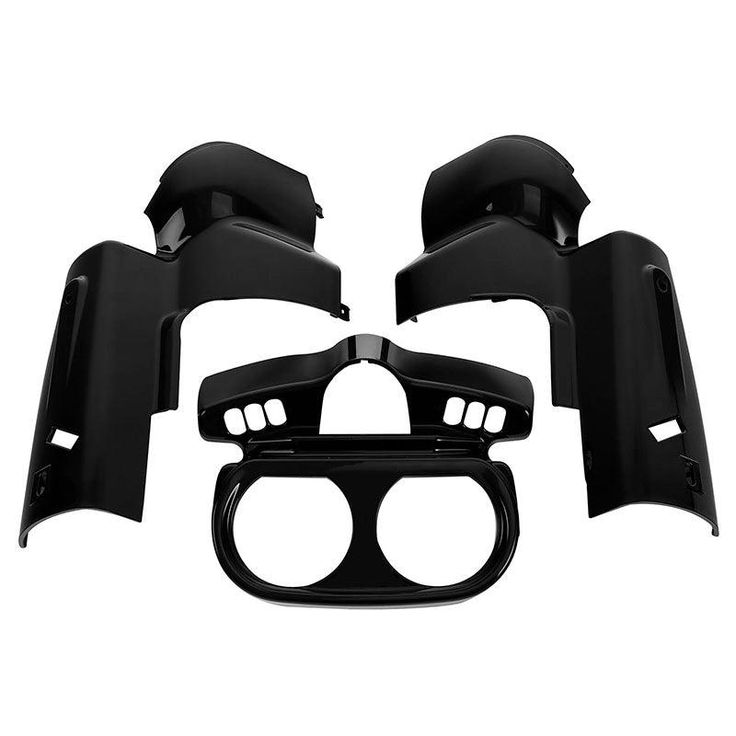
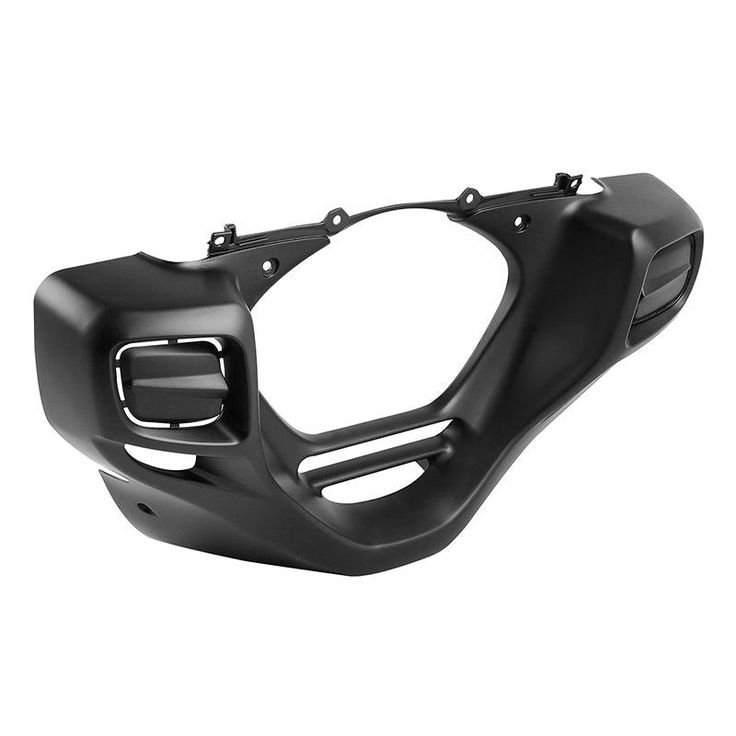
Painting Motorcycle Fairings Becomes a Major Trend in 2024
For many motorcycle enthusiasts, their bikes are more than just modes of transportation; they’re canvases for self-expression. Painting your motorcycle fairings allows you to personalize your ride, transforming it into a true reflection of your style. How to paint a motorcycle fairing?This in-depth guide equips you with the knowledge and steps needed to achieve a flawless, professional-looking paint job on your motorcycle fairings.
Preparation is Key: Essential Steps Before You Paint
Before diving into the painting process, meticulous preparation is paramount. Here’s a breakdown of the crucial steps to ensure a smooth and successful paint job:
-
Gather the Necessary Supplies:
- Safety Equipment: Safety glasses, respirator, gloves
- Cleaning Materials: Degreaser, microfiber cloths, sandpaper (various grits)
- Taping Supplies: Masking tape, plastic sheeting
- Painting Materials: Primer, automotive paint, clear coat, mixing cups, paint sprayer (optional)
-
Remove the Fairings: For optimal results, remove the fairings from the motorcycle for easier cleaning, painting, and drying. Consult your motorcycle’s manual or online resources for specific removal instructions.
-
Thorough Cleaning: Meticulously clean the fairings to remove any dirt, grime, or grease. Use a degreaser followed by a thorough wash with warm water and mild soap. Let the fairings dry completely before proceeding.
-
Sanding and Smoothing: Scuff the fairings with fine-grit sandpaper (around 400 grit) to create a slightly rough surface for better paint adhesion. Focus on removing any imperfections or blemishes. Wipe down the fairings with a tack cloth to remove sanding dust.
-
Masking and Taping: Carefully mask off any areas you don’t want painted. Use high-quality masking tape and plastic sheeting to cover the motorcycle frame, wheels, and other components.
Pro Tip: For intricate designs or complex masking, consider using pre-cut vinyl stencils to ensure clean lines and crisp edges.
Painting Like a Pro: Applying Primer and Paint
With a clean and prepped surface, you’re ready to apply the paint. Here’s what you need to know:
-
Priming: Start by applying a coat of high-quality plastic primer specifically designed for fairings. Primer creates a uniform base for the paint and promotes better adhesion. Apply thin, even coats, allowing each coat to dry completely before applying the next.
-
Choosing the Right Paint: Opt for high-quality automotive paints formulated for plastic surfaces. For a durable and glossy finish, consider two-stage urethane paints, which require a separate clear coat for optimal protection.
-
Applying Paint: There are two main methods for applying paint: spray cans or a paint sprayer. Spray cans offer convenience but may lack the level of control achievable with a paint sprayer. If using a sprayer, ensure proper dilution of the paint according to the manufacturer’s instructions.
-
Painting Techniques: Apply light, even coats of paint, allowing each coat to dry thoroughly before adding the next. Multiple thin coats are preferable to one thick coat, which can lead to dripping or running.
-
Building Up Color Layers: Once you’ve achieved the desired base color, you can move on to adding graphics, stripes, or other design elements if your project involves a multi-colored scheme.
Remember: Always apply masking tape before adding contrasting colors to maintain crisp lines and prevent paint bleeding.
The Finishing Touch: Applying a Clear Coat
After your paint job is complete and thoroughly dry, it’s crucial to apply a clear coat for protection and a glossy finish. Here’s what to consider:
-
Clear Coat Selection: Choose a high-quality clear coat compatible with your chosen paint system. Opt for a UV-resistant clear coat to protect your paint from fading due to sun exposure.
-
Clear Coat Application: Apply the clear coat using similar techniques as with the base paint. Apply light, even coats, allowing each coat to dry completely before adding the next.
Aim for 2-3 coats of clear coat for optimal protection and a deep, glossy finish.
Reassembly and Rejuvenation: Putting it All Back Together
Once the paint and clear coat are completely dry, it’s time to reassemble your motorcycle and admire your handiwork. Here are the final steps:
-
Carefully remove all masking tape and plastic sheeting.
-
Allow the paint to fully cure before reinstalling the fairings on your motorcycle. Refer to your motorcycle’s manual for specific reassembly instructions.
- Clean and Polish: After reassembly, give your newly painted fairings a good cleaning and polish to remove any fingerprints, dust, or smudges. Use a high-quality polish specifically formulated for painted surfaces to maintain a glossy shine and protect the paint.
Beyond the Basics: Exploring Advanced Techniques for Dazzling Results
While the core steps outlined above provide a solid foundation for painting your motorcycle fairings, there’s a world of creative possibilities to explore. Here’s a glimpse into some advanced techniques for experienced painters:
-
Wet Layering: This technique involves applying multiple paint colors while they’re still wet, allowing the colors to blend and create a marbled or swirled effect.
-
Airbrushing: For intricate designs, lettering, or fades, airbrushing offers precise control and allows for smooth transitions between colors.
-
Hydro Dipping: This innovative technique involves dipping the fairings into a water bath containing a special film with a printed design. The film adheres to the fairings, creating a unique, customized pattern.
-
Candy Paint: For a deep, rich color with a pearlescent effect, candy paint involves layering a transparent colored layer over a reflective base coat.
These are just a few examples, and the possibilities are truly endless. With practice and experimentation, you can transform your motorcycle fairings into a one-of-a-kind masterpiece.
Safety First: Essential Precautions for a Successful Paint Job
Painting your motorcycle fairings can be a rewarding experience, but safety should always be a top priority. Here are some crucial precautions to take:
-
Work in a well-ventilated area: Paint fumes can be harmful, so ensure proper ventilation by working in a well-ventilated garage or workspace. Use a respirator to further protect yourself from inhaling paint particles.
-
Wear proper safety gear: Always wear safety glasses to protect your eyes from paint splatter. Wear gloves to protect your hands from chemicals and solvents.
-
Handle paint and solvents responsibly: Store paint and solvents in a cool, dry place away from heat sources. Dispose of paint and solvent waste properly, following local regulations.
By following these safety guidelines, you can ensure a safe and enjoyable painting experience.
Fuel Your Creativity: Resources and Inspiration for Motorcycle Fairing Painting
The world of motorcycle fairing painting is brimming with inspiration and resources to fuel your creativity. Here are some helpful resources to get you started:
-
Online Tutorials and Forums: The internet is a treasure trove of information. Search for online tutorials and forums dedicated to motorcycle fairing painting. These resources can provide valuable tips, techniques, and step-by-step guides.
-
Custom Paint Shops: Consider visiting a local custom paint shop specializing in motorcycles. These professionals can offer valuable advice, inspiration, and may even be willing to tackle your paint job if you’re not comfortable doing it yourself.
-
Motorcycle Magazines and Websites: Many motorcycle magazines and websites feature articles and showcases of custom-painted motorcycles. These resources can provide a wealth of inspiration for your own project.
By tapping into these resources and letting your creativity flow, you can design a unique paint scheme that reflects your personality and transforms your motorcycle into a head-turning masterpiece.
Painting Motorcycle Fairings: Tips and Guidelines
When it comes to painting motorcycle fairings, attention to detail is key. Here are some important tips and guidelines to keep in mind when undertaking this task:
- Preparation:
Before getting started, ensure that the surface of the motorcycle fairings is clean and free from any dirt, grease, and old paint. Lightly sand the surface of the fairings using sandpaper to ensure proper adhesion of the new paint. - Control the painting environment:
Choose a dry, wind-free environment to prevent dust and other impurities from settling on the wet paint. Ensure adequate ventilation indoors or paint outdoors to promote safety. - Select the appropriate paint:
For optimal results, choose automotive paint specifically designed for painting motorcycle fairings. These paints offer excellent UV resistance and durability to withstand the elements for an extended period. - Proper coating process:
Begin by applying a primer coat to the fairings. Follow the manufacturer’s instructions regarding the recommended drying time for the primer. Afterward, sand the surface of the primer coat with fine sandpaper to achieve a smooth finish. Apply two to three coats of the main paint, ensuring that each layer is completely dry before applying the next. - Pay attention to painting techniques:
Maintain a consistent distance between the paint gun and the surface of the fairings, using even horizontal and vertical motions for an even coating. Avoid excessive spraying or paint buildup, as this can result in an uneven finish. - Drying time:
Once the final coat of paint is applied, allow sufficient time for the motorcycle fairings to dry. Wait at least 24 hours before proceeding with any further steps.
Embrace the Ride: The Satisfaction of a Self-Painted Masterpiece
Painting your motorcycle fairings is an enriching and rewarding experience. The satisfaction of transforming your bike into a personalized work of art is truly unmatched. By following the steps outlined in this guide, prioritizing safety, and unleashing your creativity, you can achieve a flawless, professional-looking paint job that elevates your motorcycle and your riding experience.