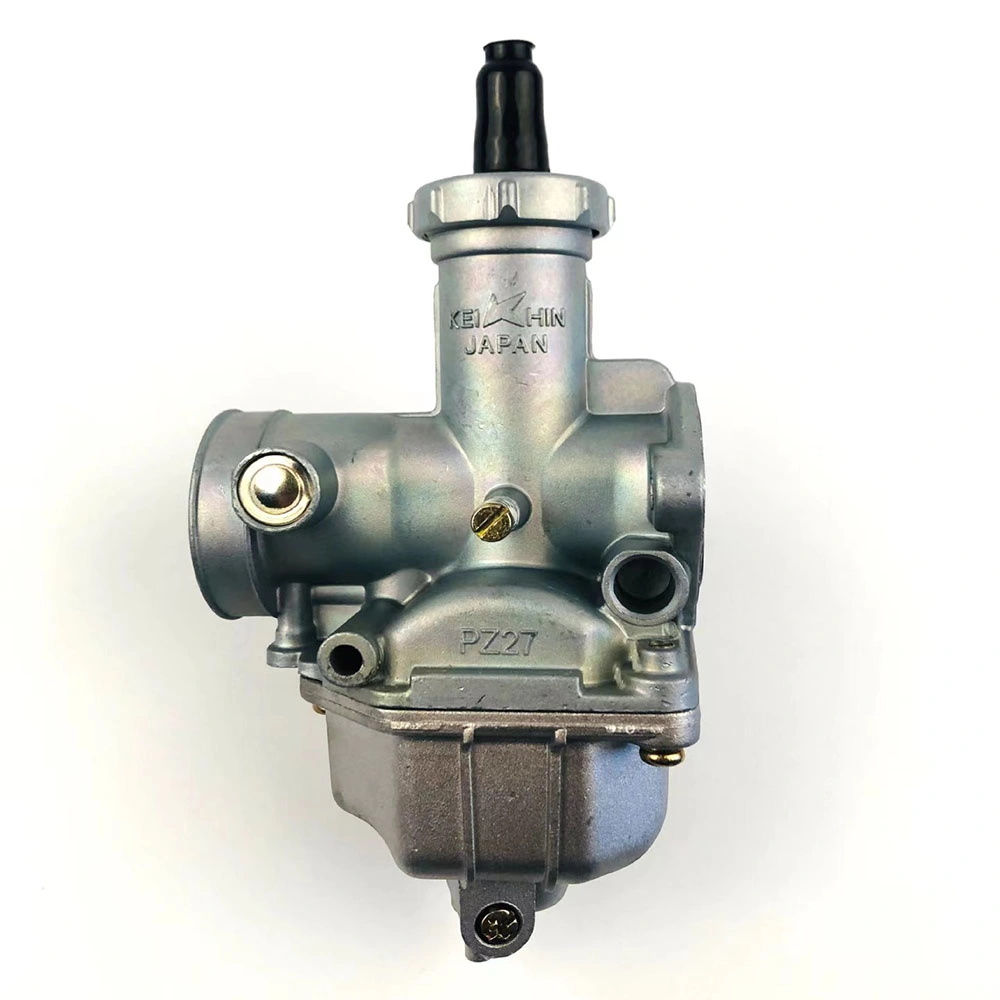
Your motorcycle’s carburetor plays a vital role. It’s responsible for mixing air and fuel in the perfect ratio for optimal engine performance. However, over time, this intricate system can become clogged with debris and deposits, leading to a variety of problems like stalling, hesitation, and poor fuel efficiency. This comprehensive guide empowers you to tackle the task of cleaning your motorcycle carburetor yourself. We’ll delve into the essential steps, tools you’ll need, and helpful tips to ensure a successful and smooth-running motorcycle.
Understanding the Signs of a Dirty Motorcycle Carburetor: When to Take Action
How do you know if your motorcycle carburetor needs cleaning? Here are some telltale signs:
-
Engine Stalling: A dirty carburetor can cause the engine to stall, especially when idling or coming to a stop.
-
Hesitation and Jerking: If your motorcycle hesitates or jerks when accelerating, it could be a sign of a clogged carburetor.
-
Decreased Fuel Efficiency: A dirty carburetor can disrupt the proper air-fuel mixture, leading to increased fuel consumption.
-
Difficulty Starting: If your motorcycle struggles to start or requires multiple attempts, a dirty carburetor might be the culprit.
-
Black Exhaust Smoke: Excessive black smoke from the exhaust often indicates a rich fuel mixture, which can be caused by a clogged carburetor.
If you experience any of these symptoms, cleaning your carburetor is a proactive approach to restoring your motorcycle’s performance and preventing further issues.
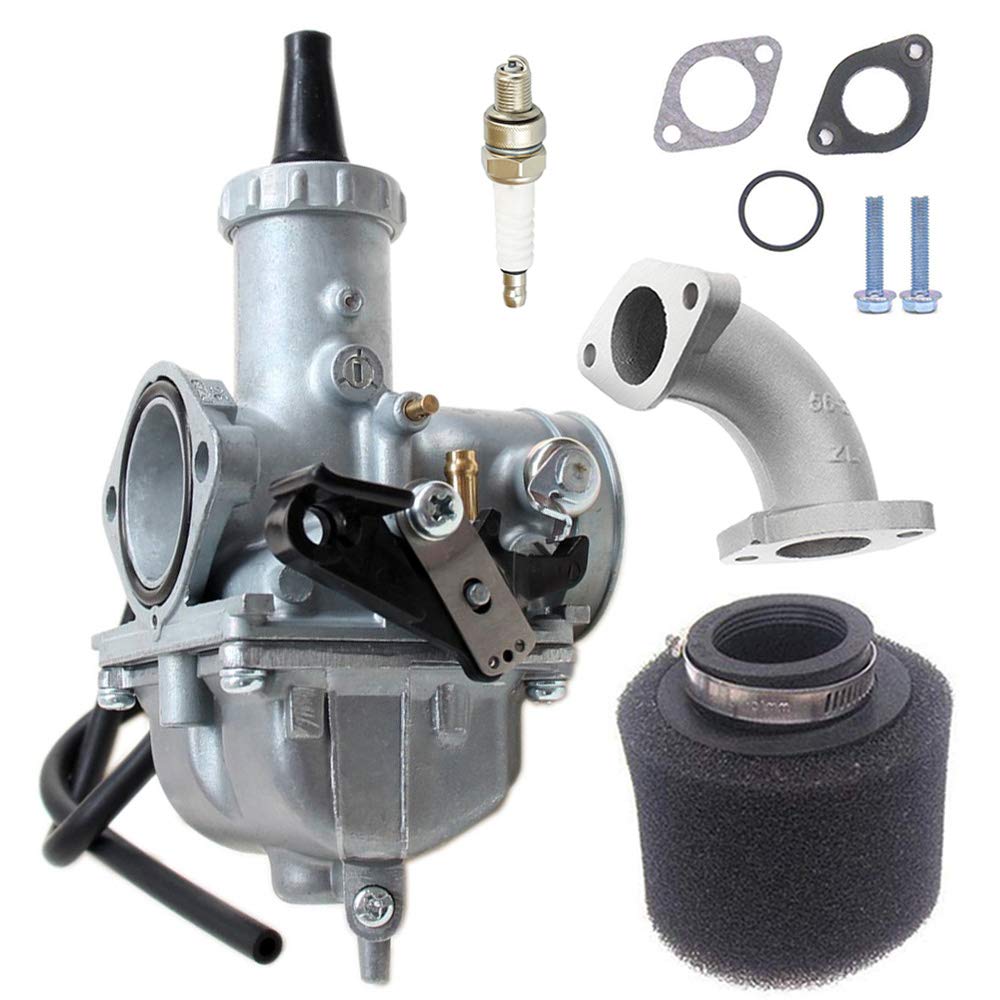
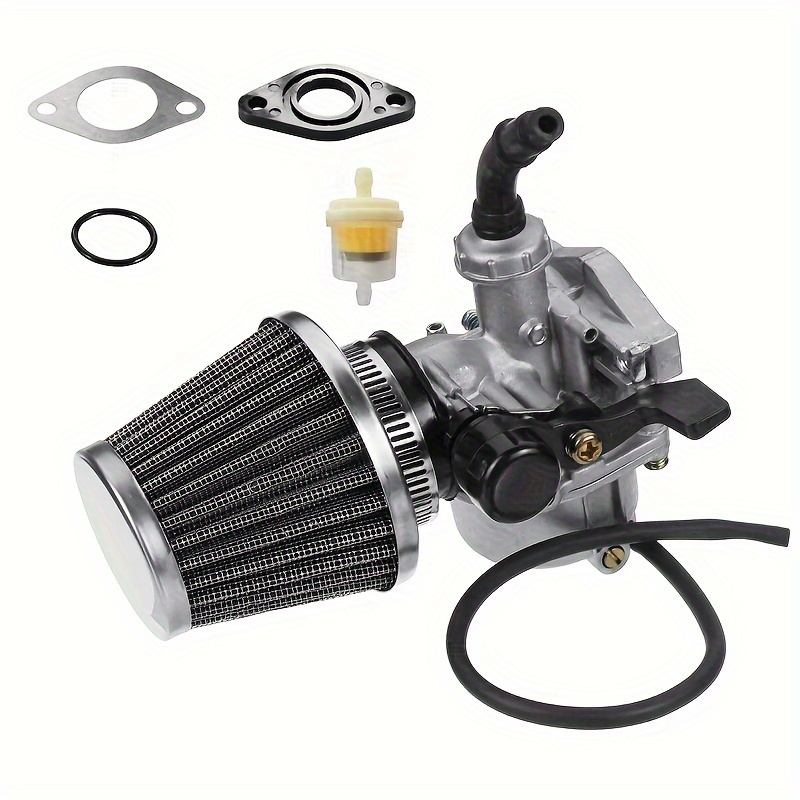
Gathering Your Arsenal: Tools and Supplies for Motorcycle Carburetor Cleaning
How to clean carburetor motorcycle? Before diving in, ensure you have the necessary tools and supplies for a successful carburetor cleaning:
-
Carburetor Cleaner: Opt for a reputable brand specifically formulated for motorcycle carburetors. Avoid harsh chemicals that can damage delicate components.
-
Compressed Air: A can of compressed air is essential for blowing out any debris from the carburetor passages.
-
Socket Wrench Set: You’ll need a variety of sockets to remove the carburetor from your motorcycle. Refer to your motorcycle’s service manual for specific sizes.
-
Screwdrivers (Phillips & Flathead): A set of screwdrivers will be helpful for removing various carburetor components.
-
Small Parts Tray: Keep track of disassembled parts by using a small tray or container with compartments.
-
Shop Towels: Lint-free shop towels are ideal for cleaning and drying carburetor components.
-
Nitrile Gloves: Protect your hands from chemicals and debris by wearing nitrile gloves.
-
Safety Goggles: Eye protection is crucial when working with cleaning solutions and compressed air.
-
Motorcycle Service Manual: Your motorcycle’s service manual provides specific instructions for carburetor removal and disassembly, tailored to your bike’s model.
With these tools and supplies at hand, you’re ready to tackle the carburetor cleaning process.
Disassembly Dance: Step-by-Step Guide to Cleaning Your Motorcycle Carburetor
Disclaimer: While this guide provides general steps, refer to your motorcycle’s service manual for specific instructions and torque specifications relevant to your model.
-
Preparation: Park your motorcycle on a level surface and allow the engine to cool completely. Disconnect the negative battery terminal to prevent electrical sparks.
-
Carburetor Removal: Consult your service manual for detailed instructions on locating and removing the carburetor from your motorcycle. This might involve removing the airbox, fuel lines, and various linkages.
-
External Cleaning: Before disassembly, use carburetor cleaner and a shop towel to remove any dirt or grime from the carburetor’s exterior.
-
Drain and Disassemble: Locate and drain the carburetor’s float bowl. Then, carefully disassemble the carburetor according to your service manual, separating components like the float, jets, and needles.
-
Soaking and Scrubbing: Submerge the disassembled carburetor components (excluding any rubber parts) in the carburetor cleaner solution according to the manufacturer’s instructions. While the parts soak, use compressed air to blow out any debris from the carburetor passages.
Caution: Do not soak any rubber components like the float bowl gasket or O-rings in the carburetor cleaner, as it can damage them.
-
Cleaning the Jets: The jets are particularly prone to clogging. Use a thin wire (such as a guitar string) to gently clear any blockages in the jet orifices.
-
Inspecting and Replacing: Carefully inspect all carburetor components for signs of wear or damage. Replace any worn-out or damaged parts like gaskets, needles, or jets to ensure optimal performance after cleaning.
-
Reassembly: Once everything is Once everything is clean and dry, meticulously reassemble the carburetor in the reverse order of disassembly. Refer to your service manual for proper component placement and torque specifications. Pay close attention to details like float height adjustment, which significantly impacts fuel mixture and performance.
-
Carburetor Installation: Reinstall the carburetor onto your motorcycle, following the steps outlined in your service manual for reconnecting linkages, fuel lines, and the airbox. Double-check all connections to ensure they’re secure and free of leaks.
-
Fuel Line Check: Before attempting to start the motorcycle, open the fuel petcock and allow fuel to flow through the carburetor for a few moments. Visually inspect for any leaks around the carburetor connections.
-
Bringing it Back to Life: Reconnect the negative battery terminal and attempt to start your motorcycle. It might take a few tries for the engine to crank due to the cleared fuel system. Once started, allow the engine to idle for a few minutes to stabilize.
-
Fine-Tuning: After a test ride, you might need to fine-tune the carburetor’s idle screw and air-fuel mixture screw for optimal performance. Consult your service manual for specific adjustment procedures for your motorcycle model.
If you’re unsure about any step during the disassembly, cleaning, or reassembly process, consult a professional mechanic for guidance.
The Power of Prevention: Maintaining a Clean Carburetor
Here are some tips to help prevent your motorcycle carburetor from getting clogged in the first place:
-
Use High-Quality Fuel: Low-grade fuel can contain impurities that contribute to carburetor clogging. Opt for high-quality gasoline from reputable stations.
-
Fuel Stabilizer: If you plan on storing your motorcycle for an extended period, add a fuel stabilizer to prevent fuel varnish buildup in the carburetor.
-
Air Filter Maintenance: A clogged air filter allows dirt and debris to enter the carburetor, leading to clogging. Regularly clean or replace your air filter according to the manufacturer’s recommendations.
-
Regular Riding: Leaving your motorcycle unused for extended periods can allow fuel to evaporate and leave behind deposits in the carburetor. Take your motorcycle for regular rides to keep the fuel system functioning properly.
By following these preventative measures, you can extend the lifespan between carburetor cleanings and keep your motorcycle running smoothly.
The Final Lap: Keeping Your Ride Running Like a Champ (Word Count: 1492)
Cleaning your motorcycle carburetor might seem like a daunting task, but with the right tools, knowledge, and a little patience, you can tackle this project yourself and experience the satisfaction of restoring your motorcycle’s performance. Remember, if you’re ever unsure about any step in the process, don’t hesitate to consult a professional mechanic.
Maintenance Tips to Keep Your Carburetor Clean
Regular maintenance helps keep your carburetor clean and functioning properly. Understanding these maintenance tips can prolong the life of your carburetor. Therefore, exploring maintenance tips is essential.
Firstly, use high-quality fuel to prevent deposits. Premium fuel contains additives that help clean and protect your carburetor. Avoid using old or contaminated fuel, as it can lead to clogs and build-up.
Next, add a fuel stabilizer to your tank, especially during long storage periods. Fuel stabilizers prevent fuel degradation and reduce the risk of varnish build-up. Follow the manufacturer’s instructions for proper usage.
Additionally, run your bike regularly. Regular use helps prevent fuel from sitting in the carburetor and forming deposits. Even short rides can keep your carburetor clean and functioning properly.
By understanding and implementing these maintenance tips, you can extend the life of your carburetor and ensure optimal performance. Therefore, recognizing the importance of regular maintenance is crucial.
The Final Lap: Keeping Your Ride Running Like a Champ
Cleaning your motorcycle carburetor might seem like a daunting task, but with the right tools, knowledge, and a little patience, you can tackle this project yourself and experience the satisfaction of restoring your motorcycle’s performance. Remember, if you’re ever unsure about any step in the process, don’t hesitate to consult a professional mechanic.
Conclusion
Cleaning your motorcycle carburetor involves preparation, disassembly, thorough cleaning, and reassembly. Proper knowledge of these steps ensures a successful cleaning process.
Exploring preparation tips, step-by-step cleaning instructions, and essential maintenance practices provides valuable insights. Recognizing the importance of quality fuel, regular use, and fuel stabilizers enhances overall understanding and execution.
By engaging with these elements, motorcycle owners can confidently clean and maintain their carburetors in 2024. Therefore, understanding the cleaning process and maintenance tips offers practical and valuable insights. Embrace the opportunity to enhance your bike’s performance, knowing you have the knowledge and resources to keep it running smoothly!