Keeping your motorcycle in top shape is crucial for safe and enjoyable rides. Regular maintenance, including checking your oil level, is a simple yet essential task. This guide will equip you with the knowledge and steps on how to check your motorcycle oil like a seasoned rider.
Why Checking Your Motorcycle Oil Matters
Engine oil is the lifeblood of your motorcycle. It lubricates moving parts, reduces friction, and helps dissipate heat. Regular oil checks ensure there’s enough oil to protect your engine from wear and tear. Running your motorcycle with low oil can lead to severe damage, including costly repairs or even engine failure.
Here’s a breakdown of why checking motorcycle oil matters:
- Prevents Engine Damage: Low oil levels can cause metal-on-metal contact within the engine, leading to premature wear and tear. Checking your oil regularly helps prevent this by allowing you to top up the oil when necessary.
- Ensures Optimal Performance: Proper oil level ensures smooth operation and efficient power delivery. Low oil can increase friction, reducing power and fuel efficiency.
- Extends Engine Life: By preventing wear and tear, regular oil checks contribute to a longer engine lifespan.
- Early Detection of Leaks: Oil level fluctuations can indicate potential leaks. Checking your oil allows you to identify leaks early on before they become major problems.
Understanding Oil Sight Glass and Dipstick
How to check motorcycle oil? There are two main ways to check your motorcycle oil level: using a sight glass or a dipstick. The method you use depends on your motorcycle model.
- Sight Glass: A sight glass is a small window on the engine crankcase that allows you to visually check the oil level. It typically has markings indicating the appropriate oil level range.
- Dipstick: This is a long, thin rod with markings that you insert into the engine to check the oil level. After removing and wiping the dipstick clean, you re-insert it and then remove it again to see the oil level on the marked section.
Your motorcycle owner’s manual will specify which method applies to your bike and provide detailed instructions on how to check the oil level using that method. Let’s dive deeper into the steps involved in each method.
Checking Your Motorcycle Oil with a Sight Glass
Here’s how to check your motorcycle oil level using a sight glass:
- Warm Up the Engine: Run your motorcycle for a few minutes to get the oil circulating. This ensures a more accurate oil level reading.
- Park on Level Ground: Turn off the engine and park your motorcycle on a level surface. This ensures the oil level is evenly distributed within the engine crankcase.
- Locate the Sight Glass: Consult your owner’s manual to find the location of the sight glass on your motorcycle engine. It’s typically positioned on the crankcase near the bottom of the engine.
- Clean the Area Around the Sight Glass: Use a rag to clean any dirt or debris around the sight glass for a clear view.
- Check the Oil Level: Look through the sight glass. The oil level should be between the upper and lower markings etched on the glass. If the oil level is below the lower marking, your motorcycle needs oil top-up.
Checking Your Motorcycle Oil with a Dipstick
Here’s how to check your motorcycle oil level using a dipstick:
- Warm Up the Engine: Similar to using a sight glass, run your engine for a few minutes to get the oil circulating.
- Park on Level Ground: Turn off the engine and park your motorcycle on a level surface.
- Locate the Dipstick: Refer to your owner’s manual to find the location of the dipstick on your motorcycle engine. It’s typically located near the top of the engine crankcase.
- Remove and Wipe the Dipstick: Pull out the dipstick slowly and carefully. Use a clean rag to wipe off any oil from the marked section of the dipstick.
- Re-insert and Remove the Dipstick: Insert the clean dipstick back into its slot as far as it will go. Then, pull it out again to check the oil level.
- Read the Oil Level: The oil level should be between the upper and lower markings on the dipstick. If the oil level is below the lower marking, your motorcycle needs oil top-up.
Choosing the Right Oil and Topping Up
Once you’ve determined your motorcycle needs oil, it’s crucial to use the correct oil type and viscosity grade recommended by your manufacturer. Consult your owner’s manual for the recommended oil type and viscosity grade for your motorcycle. Viscosity refers to an oil’s thickness, which affects its flow characteristics at different temperatures. Using the wrong oil can compromise engine performance and protection.
Here are some additional tips for topping up your motorcycle oil:
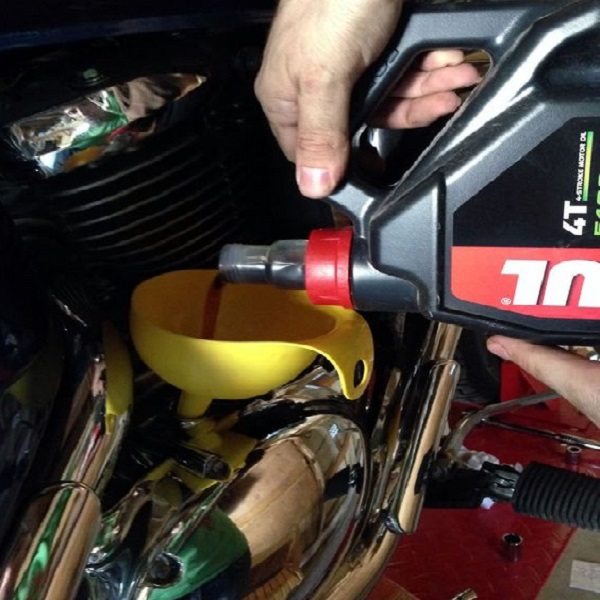
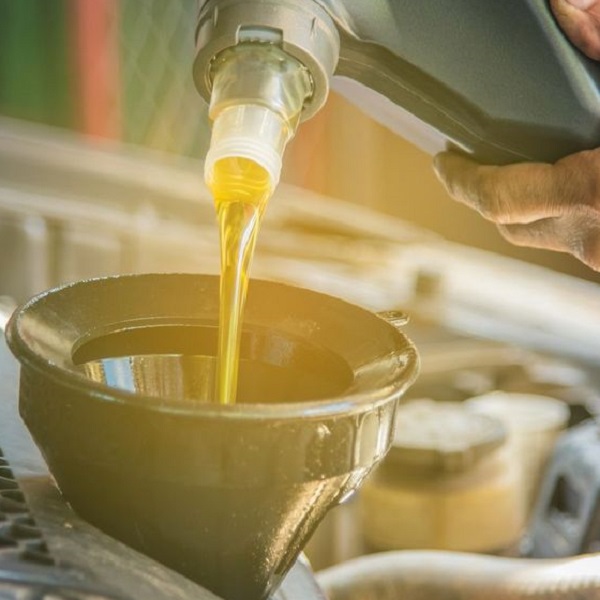
- Use a Funnel: A funnel helps prevent spills and ensures the oil goes directly into the oil filler hole.
- Add Oil Gradually: Don’t add too much oil at once. Start by adding a small amount, then check the oil level again. Repeat this process until the oil level reaches the recommended range on the sight glass or dipstick.
- Overfilling: Avoid overfilling the engine with oil. This can put pressure on the engine seals and lead to leaks.
- Wipe Up Spills: Clean up any oil spills immediately to prevent dirt and debris from sticking and potentially causing problems within the engine.
Additional Tips for Maintaining Your Motorcycle Oil
- Regular Oil Changes: Regular oil changes are essential for maintaining optimal engine performance and longevity. The recommended oil change interval for your motorcycle can be found in your owner’s manual. Factors like riding style and conditions can also influence how often you need to change your oil.
- Oil Filter Replacement: When changing your oil, it’s crucial to replace the oil filter as well. The oil filter traps contaminants that can harm your engine.
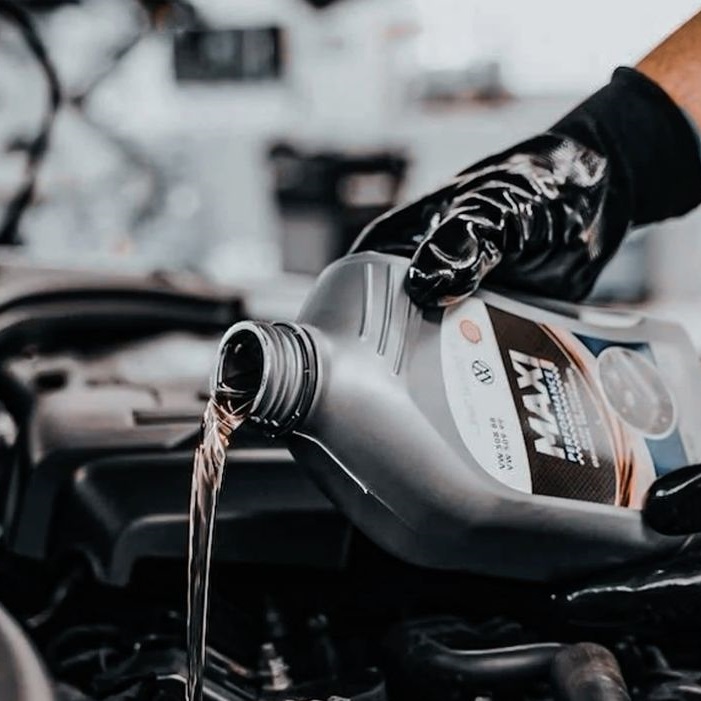
- Visual Inspection: Pay attention to the color and consistency of your oil when checking or changing it. Dark, dirty oil indicates it’s time for a change. Milky-looking oil can be a sign of coolant contamination, which requires further inspection by a mechanic.
- Keep Records: Maintain a record of your oil changes and oil filter replacements. This will help you stay on top of your motorcycle’s maintenance schedule.
The Benefits of Regular Oil Checks
By incorporating regular oil checks into your motorcycle maintenance routine, you’ll reap several benefits:
- Peace of Mind: Knowing your motorcycle has the proper oil level gives you peace of mind while riding.
- Prevents Costly Repairs: Early detection of low oil levels or leaks helps prevent engine damage and potential breakdowns, saving you money on repairs.
- Maintains Performance: Proper oil level ensures smooth engine operation and optimal performance for a more enjoyable riding experience.
- Extends Motorcycle Life: Regular oil checks and changes contribute to a longer lifespan for your motorcycle engine.
Invest in Your Motorcycle’s Health with the Right Oil and Tools In 2024
Taking the time to check your motorcycle oil regularly is a simple yet significant step towards keeping your motorcycle running smoothly and safely for years to come. Remember to consult your owner’s manual for specific instructions pertaining to your motorcycle model.
In a similar vein, motorcycle maintenance, like a bold crackle manicure, requires attention to detail and a willingness to embrace the unexpected. For instance, checking your motorcycle’s oil level is a crucial step in ensuring its longevity and optimal performance. Just as you wouldn’t hesitate to experiment with different crackle patterns, don’t shy away from getting your hands a little dirty while inspecting your bike’s lifeblood.

How to Add Oil to Your Motorcycle
If your oil level is low, it’s crucial to add oil promptly. Here’s how:
- Choose the right oil: Consult your owner’s manual to determine the correct type and viscosity of oil for your motorcycle. Using the wrong oil can harm your engine.
- Locate the oil fill cap: The oil fill cap is usually near the top of the engine. It often has an oil can symbol or the word “Oil” on it.
- Add oil slowly: Use a funnel to pour oil into the fill hole. Add a small amount at a time, rechecking the level frequently. Don’t overfill, as this can cause problems.
- Check the level again: After adding oil, warm up the engine again and recheck the level using the dipstick or sight glass.
- Tighten the fill cap: Make sure the oil fill cap is securely tightened to prevent leaks.
How Often Should You Change Your Motorcycle Oil?
The frequency of oil changes varies depending on your motorcycle’s model and usage. However, most manufacturers recommend changing the oil and filter:
- Every 3,000 miles: This is a general guideline for most motorcycles.
- Every 6,000 miles: Some newer motorcycles with synthetic oil can go longer between changes.
- At least once a year: Even if you don’t ride frequently, it’s essential to change your oil annually.
Consult your owner’s manual for specific recommendations.