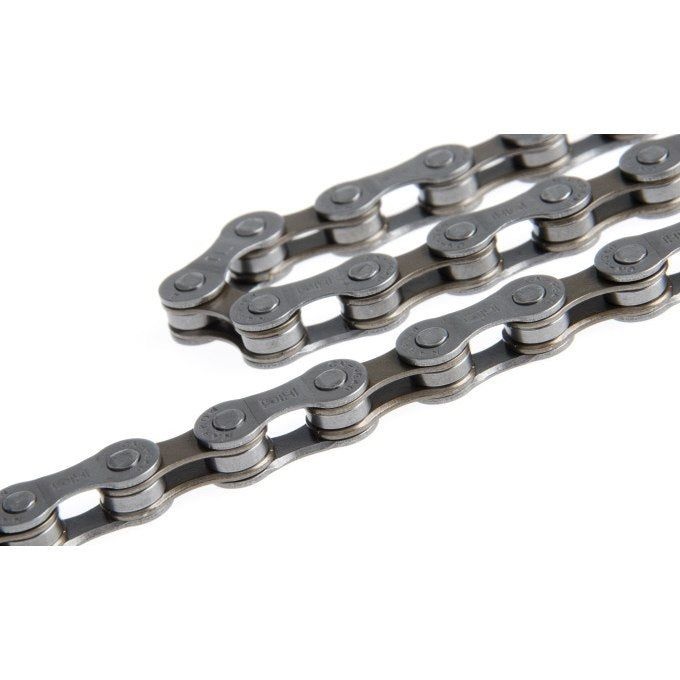
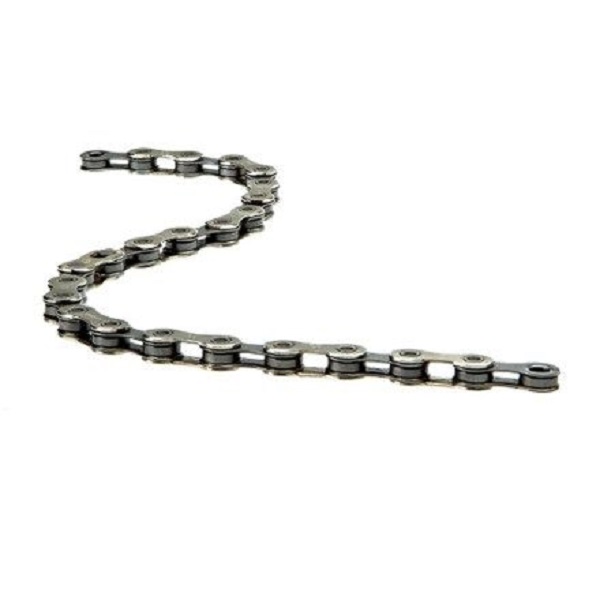
How to clean motorcycle chain? Your motorcycle chain is a crucial component, silently working in the background to deliver power to your rear wheel. But like any hardworking part, it needs regular care to maintain peak performance and prevent costly repairs. A clean chain reduces friction, improves efficiency, and extends the lifespan of your chain and sprockets.
This comprehensive guide will walk you through the process of cleaning your motorcycle chain in 2024, incorporating the latest best practices and addressing common questions. Whether you’re a seasoned rider or a new motorcycle owner, this guide will equip you with the knowledge and confidence to tackle this essential maintenance task.
Gathering Your Tools and Supplies
Before diving in, ensure you have the necessary tools and supplies for a successful motorcycle chain cleaning session. Here’s a checklist:
- Motorcycle stand: Lifting your rear wheel off the ground is crucial for proper chain access and cleaning. You can use a paddock stand or a lift depending on your preference and workspace.
- Chain cleaner: Opt for a motorcycle-specific chain cleaner designed to remove grime without harming the chain’s O-rings. Popular options include kerosene, degreasers, or dedicated chain cleaning solutions.
- Chain brush: A dedicated motorcycle chain brush with stiff bristles will effectively reach all sides of the chain for a thorough clean.
- Rags: Plenty of clean rags are essential for wiping down the chain and cleaning up spills.
- Chain lube: Choose a high-quality chain lube specifically formulated for motorcycles. Consider factors like your riding style, climate, and chain type when selecting a lube.
- Safety gear: Always wear safety glasses and gloves when working with chemicals like chain cleaner.
Optional but helpful items:
- Chain cleaning tool: This handy tool simplifies the cleaning process by enclosing the chain while you scrub.
- Solvent container: A designated container for collecting dirty solvent is eco-friendly and keeps your workspace clean.
Preparing Your Motorcycle
With your tools gathered, it’s time to prep your motorcycle for chain cleaning:
- Park your motorcycle on a level surface and engage the parking brake.
- Let the engine cool down completely. A hot chain can be dangerous to touch and may warp under certain cleaning solutions.
- Shift the motorcycle into neutral. This allows you to freely rotate the rear wheel.
- Place your motorcycle stand under the designated points on the swingarm. Refer to your owner’s manual for specific instructions on stand placement for your motorcycle model.
- Securely lift the motorcycle stand, raising the rear wheel off the ground.
Part 3: Getting Down to Business – Cleaning the Chain
Now comes the fun part – cleaning the chain! Here’s a step-by-step breakdown:
- Apply chain cleaner: Following the manufacturer’s instructions, apply the chain cleaner liberally to all sides of the chain. Depending on the cleaner, you might spray it directly or soak the chain in a container.
- Let the cleaner sit: Allow the cleaner to work its magic for a few minutes, breaking down grime and dirt buildup.
- Agitate the chain: Use the chain brush to scrub all sides of the chain, paying close attention to the rollers and link plates. The chain cleaning tool, if you have one, can further aid this process.
- Clean the sprockets: Don’t neglect the front and rear sprockets! Use the brush and cleaner to remove dirt and grime buildup from the teeth.
- Rinse the chain (optional): If you used a water-based chain cleaner, you can rinse the chain with a gentle stream of water. However, some cleaners don’t require rinsing. Double-check the product instructions.
- Dry the chain thoroughly: Use clean rags to remove any excess moisture from the chain. A chain left wet can rust, so ensure it’s completely dry before proceeding.
Pro Tip: Throughout the cleaning process, rotate the rear wheel slowly to ensure all areas of the chain are addressed.
Chain Inspection – Checking for Wear and Damage
With a clean chain, take a moment to inspect its condition. Look for any signs of wear and tear that might require further attention or replacement:
- Stiff links: A stiff chain indicates worn-out O-rings or tight tolerances. If the chain doesn’t move freely, consider lubrication or consult a mechanic.
- Excessive chain stretch: Use a chain wear tool to measure the chain’s elongation. If the chain is beyond the manufacturer’s specified wear limit, it’s time for a replacement to prevent sprocket damage.
Lubrication – Keeping Your Chain Protected
Once your chain is clean and dry, it’s crucial to apply a fresh coat of lubricant. Here’s how:
- Shake the chain lube well. This ensures all the ingredients are properly mixed for optimal performance.
- Apply the lube sparingly and directly to the chain rollers. Aim for the inner link plates where the rollers contact them. Avoid over-lubrication, which can fling off and attract dirt.
- Rotate the rear wheel slowly while applying the lube to ensure all the rollers are evenly coated.
- Let the lube sit for 10-15 minutes to allow it to penetrate the chain links.
- Wipe off any excess lube with a clean rag. A little goes a long way, and a greasy chain can attract dirt and grime more quickly.
Different lubes have varying drying times. Refer to the manufacturer’s instructions for specific recommendations on how long to wait before riding your motorcycle.
Post-Cleaning Wrap-Up and Maintenance Tips
After cleaning and lubricating your chain, here are some additional steps to consider:
- Clean the surrounding area: Wipe down any chain cleaner residue or spills on your motorcycle with a clean rag.
- Lower your motorcycle stand carefully. Ensure the stand is stable before removing it.
- Store your motorcycle properly: If you won’t be riding for a while, consider applying a light coat of chain lube to prevent rust and corrosion.
Maintenance Schedule:
- Regular cleaning: Depending on your riding conditions, aim to clean your chain every 300-500 miles (480-800 kilometers) or more frequently if you ride in dusty or wet environments.
- Visual inspection: Briefly inspect your chain for excessive wear or damage before every ride.
- Lubrication: Relubricate your chain after every cleaning and after riding in wet conditions.
Benefits of a Clean and Well-Maintained Chain
Maintaining a clean and well-lubricated chain offers a multitude of benefits for your motorcycle:
- Improved performance: A clean chain reduces friction, leading to smoother power delivery and improved fuel efficiency.
- Reduced wear and tear: Regular cleaning and lubrication extend the lifespan of your chain, sprockets, and other drivetrain components, saving you money on replacements in the long run.
- Enhanced safety: A worn or damaged chain can snap while riding, which can lead to a dangerous accident. Regular maintenance helps prevent such occurrences.
- Smoother ride: A clean chain translates to a smoother riding experience, free from the jerks and vibrations caused by a dirty or tight chain.
Troubleshooting Common Chain Cleaning Issues
Even the most meticulous riders might encounter challenges during chain cleaning. Here are some common issues and solutions:
- Stubborn grime buildup: If your chain has significant grime buildup, soaking it in a chain cleaner for a longer duration (following the product instructions) can loosen the dirt before scrubbing.
- Excess chain lube fling-off: Over-lubrication is a common culprit. Apply lube sparingly and wipe off any excess after application. Consider using a chain lube formulated for your riding conditions (e.g., heavy-duty for off-road riding).
- Rusty chain: Surface rust is manageable. Apply a penetrating oil to loosen the rust before cleaning and lubricating as usual. However, extensive rust might indicate a neglected chain and possible replacement need.
Final Word: Beyond the Basics – Advanced Chain Care Techniques
This guide has covered the fundamentals of cleaning and maintaining your motorcycle chain. For those interested in taking their chain care to the next level, here are some additional techniques:
- Chain degreasing: For heavily neglected chains, a more thorough degreasing process might be necessary. This typically involves soaking the chain in a dedicated degreaser followed by a meticulous cleaning and lubrication routine. Caution: Degreasers can be harsh, so ensure proper ventilation and wear gloves when using them.
- Chain wear measurement tools: Investing in a chain wear tool allows for precise measurement of chain elongation. There are various types available, from digital gauges to simple hook tools. Refer to your motorcycle’s manual for the specific wear limit and consult a mechanic if needed.
- Chain cleaning tools and stands: While not essential, dedicated chain cleaning tools and paddock stands can significantly improve the cleaning experience. These tools can hold the chain in place, allowing for easier access and a more efficient cleaning process.
Remember, consulting your motorcycle’s owner’s manual is crucial for specific maintenance recommendations and chain size information.
Invest in Your Ride – Maintain Your Chain for a Smooth and Safe Journey
Taking the time to clean and lubricate your motorcycle chain is a simple but crucial maintenance task. By following the steps outlined in this guide, you can ensure your chain operates at peak performance, extend its lifespan, and contribute to the overall safety and smooth operation of your motorcycle.
Invest in quality chain cleaning supplies and a good chain lube. A little effort now can save you money and frustration down the road. Remember, a clean chain is a happy chain, and a happy chain translates to a happy rider!