Ever hit the road with the wind in your hair, only to be brought to a screeching halt by a flat tire? A punctured motorcycle tire can leave you stranded and frustrated. But fear not, fellow riders! Changing a motorcycle tire is an achievable feat, even for those without extensive mechanical experience. This comprehensive guide will equip you with the knowledge and confidence to tackle a tire change yourself, empowering you to get back on the road swiftly.
Understanding Your Motorcycle Tires
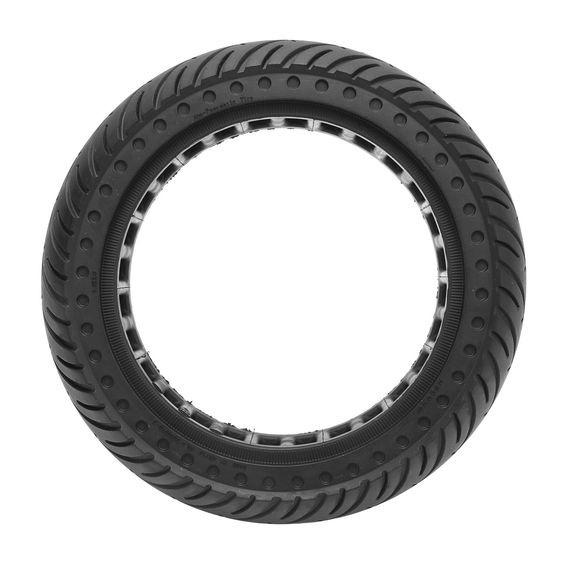
Before diving into the process, familiarizing yourself with your motorcycle’s tires is crucial. Most motorcycles utilize pneumatic tires, which consist of an outer rubber tread wrapped around an inner tube filled with air. Tubed tires are the most common type, but some bikes employ tubeless tires that eliminate the inner tube and rely solely on an airtight seal between the tire and rim. Identifying your tire type is the first step, as the removal and installation processes differ slightly.
Safety First: Gearing Up for the Change
Safety should always be paramount when working on your motorcycle. Ensure you have a designated workspace on stable, level ground. Gather the necessary tools:
- Tire irons (2 or 3 are recommended)
- Valve stem removal tool (if applicable to your tire type)
- Tire gauge
- Soapy water solution or tire lubricant
- Rags
- Jack and jack stand (to lift the motorcycle)
- New tire (properly sized for your motorcycle)
It’s also wise to consult your motorcycle’s owner’s manual for specific instructions and torque specifications.
Deflating the Tire and Removing the Wheel
With safety measures in place, begin by completely deflating the tire. Locate the valve stem and use the valve stem removal tool (if needed) to unscrew the valve cap and core. Press down on the valve stem to release the remaining air.
Next, elevate your motorcycle using the jack and jack stand, securing it firmly. Locate the bolts securing the axle nut and loosen them slightly (don’t remove them completely yet). Slide the axle nut off the axle, followed by the spacers on either side of the wheel. Now, carefully remove the wheel from the motorcycle.
Disassembling the Tire (Tubed Tires)
For tubed tires, lay the wheel flat with the valve stem facing up. Use a rag to wipe away any dirt or debris from the rim. Now comes the muscle part: breaking the tire bead’s seal on the rim. Here’s where the tire irons come in.
-
Tire Iron Technique: One method involves placing a tire iron under the tire bead near the valve stem, with the hooked end facing the rim. Press down on the iron to lever the bead up and over the rim. Repeat this process around the entire circumference of the tire, using a second or third tire iron to hold the previously unseated section in place as you work your way around. Be mindful not to pry excessively, as you can damage the tire or rim.
-
Lubrication is Key: Using soapy water solution or a dedicated tire lubricant can significantly ease this process. Apply a light coating along the tire bead where it meets the rim to reduce friction.
Once one side of the tire bead is unseated, you can pull the tire away from the rim by hand. Remove the inner tube completely by carefully pulling it out from the tire.
Disassembling the Tire (Tubeless Tires)
For tubeless tires, the process is similar but requires a specialized tool called a tire bead breaker. This tool utilizes compressed air to forcefully break the seal between the tire and rim. Caution: Operating a tire bead breaker requires proper training and safety precautions. If you’re unsure about using this tool, consider seeking professional assistance for tubeless tire changes.
Assuming you’re comfortable using the bead breaker, follow the manufacturer’s instructions to safely break the tire bead. Once unseated, you can then pull the tire away from the rim by hand.
Inspecting the Rim and Installing the New Tire
Before installing the new tire, take a moment to thoroughly inspect the rim for any damage, debris, or corrosion. A damaged rim can compromise the tire’s seal and lead to future leaks. If you find any issues, address them before proceeding.
Mounting the New Tire: Here, the process mirrors the disassembly steps performed in reverse. Apply a light coat of lubricant to the new tire bead and position it on the rim, ensuring the directional arrows (if present) on the tire sidewall align with the direction of travel.
Bead Seating: Re-seat the tire bead onto the rim. For tubed tires, you can often use your hands or feet to press the bead back into place.
-
Air Compressor: If you have access to an air compressor with a pressure gauge and air chuck attachment, inflate the tire slightly (around 30-40 psi) to temporarily pop one side of the bead back into place. Then, using a soapy water solution around the rim, identify any remaining unseated sections. Direct a short burst of air from the air compressor nozzle at these areas to force the bead back into the rim. Repeat this process until the entire tire bead is firmly seated.
-
Tire Bead Seater: A dedicated tire bead seater is another option. This tool utilizes compressed air channeled through a specialized nozzle to forcefully seat the tire bead. Follow the manufacturer’s instructions for safe and proper operation.
Safety Reminder: Always wear safety glasses when using compressed air to inflate tires. A sudden release of air can cause injury.
Inner Tube Installation (Tubed Tires Only)
If you’re working with a tubed tire, inflate the new inner tube to a slightly rounded shape, but not fully inflated. Carefully insert the inner tube through the valve stem hole in the rim, ensuring it’s not pinched or twisted. Spread the tire evenly over the rim, making sure the inner tube isn’t trapped between the tire and rim.
Final Touches and Safety Checks
Once the tire is fully seated, tighten the valve stem nut to the manufacturer’s specified torque (refer to your owner’s manual). Using a tire gauge, inflate the tire to the recommended pressure indicated on the sidewall of the new tire.
Double-check that the axle nut, spacers, and all other bolts are securely fastened according to the torque specifications in your motorcycle’s manual. Recheck the tire pressure after riding for a short distance (around 5 miles) as the tire may lose some air pressure during installation.
The Importance of Proper Balancing
While you may be tempted to hop back on your motorcycle and hit the road, a crucial step remains: tire balancing. An unbalanced tire can cause vibrations at higher speeds, affecting your comfort, handling, and even tire wear. It’s highly recommended to have your newly installed tire professionally balanced using a motorcycle tire balancing machine.
Investing in the Right Tools and Knowledge
Changing a motorcycle tire can be a rewarding experience, empowering you with self-reliance and saving you potential roadside assistance costs. However, it’s important to be realistic about your skillset and comfort level. If you’re unsure about any steps in the process, don’t hesitate to seek help from a qualified mechanic.
Having the proper tools and knowledge is paramount for a safe and successful tire change. Consider investing in high-quality tire irons and a bead breaker (if applicable) to ensure you have the right equipment for the job. Furthermore, referencing your motorcycle’s owner’s manual and watching video tutorials can provide valuable visual guidance.
The Ride Ahead: Confidence and Self-Reliance
By following these steps and prioritizing safety, you’ll be well on your way to conquering a motorcycle tire change. Remember, practice can make perfect. The more familiar you become with the process, the more confident you’ll feel tackling future tire changes, ensuring you get back on the road quickly and minimize downtime.