Painting your motorcycle helmet is a great way to personalize your ride and give it a unique look. However, it’s important to do it right to ensure the paint job lasts and doesn’t compromise the helmet’s safety. This guide will walk you through the process step-by-step, providing tips and tricks for a professional-looking finish.
Preparing Your Helmet
Before you start painting, you need to prepare your helmet properly. This involves removing any stickers, decals, or old paint:
- Remove accessories: Take off the visor, chin strap, and any other removable parts.
- Clean the helmet: Wash the helmet with mild soap and water to remove dirt and grease.
- Sand the helmet: Use fine-grit sandpaper to roughen up the surface of the helmet, creating a base for the paint to adhere to.
Choosing the Right Paint
Selecting the right paint is crucial for a durable and long-lasting finish. Here are some factors to consider:
- Type of paint: Acrylic paints are generally recommended for helmets due to their flexibility and durability.
- Primer: Use a high-quality primer to ensure the paint adheres properly.
- Clear coat: A clear coat will protect the paint job from scratches and fading.
Masking and Protection
To achieve a clean and precise paint job, you’ll need to mask off areas you don’t want to paint:
- Tape off areas: Use masking tape to protect parts of the helmet you want to keep the original color.
- Cover your workspace: Protect your workspace with drop cloths to prevent paint spills.
- Ventilation: Ensure proper ventilation to avoid inhaling paint fumes.
Applying the Primer
Primer is essential for creating a smooth base for the paint:
- Shake the primer: Shake the primer can vigorously before use.
- Thin the primer: Follow the manufacturer’s instructions for thinning the primer.
- Apply thin coats: Apply several thin coats of primer instead of one thick coat.
- Allow drying time: Let each coat dry completely before applying the next.
Applying the Base Coat
Once the primer is dry, you can start applying the base coat:
- Shake the paint: Shake the paint can vigorously before use.
- Thin the paint: Follow the manufacturer’s instructions for thinning the paint.
- Apply even coats: Apply thin, even coats of paint using smooth strokes.
- Allow drying time: Let each coat dry completely before applying the next.
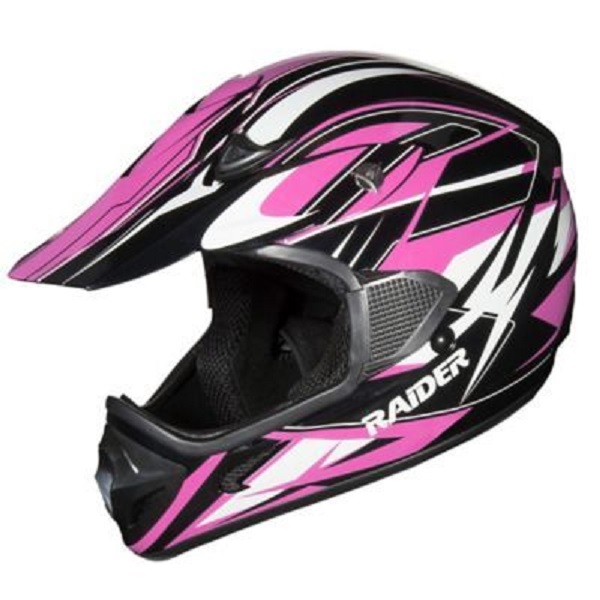
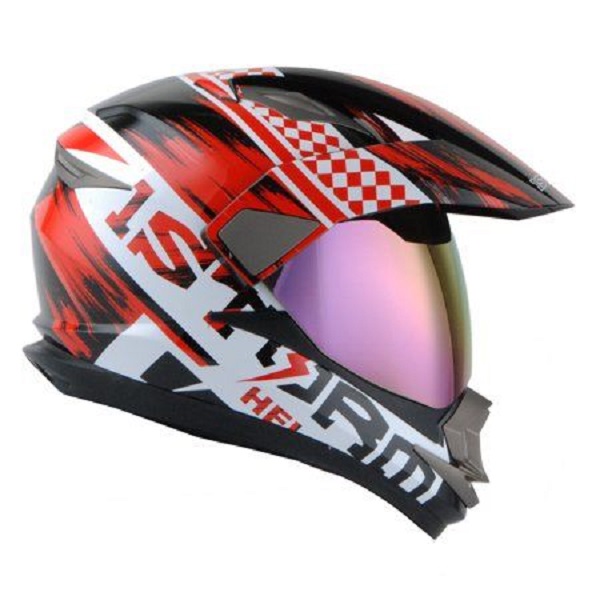
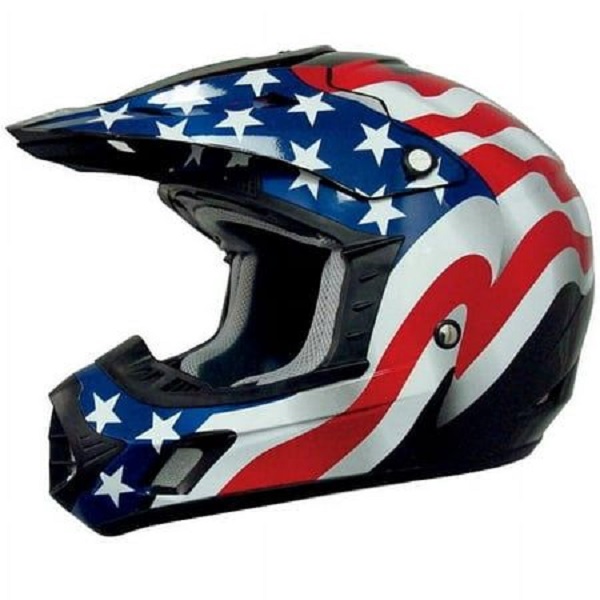
Creating a Custom Design
If you want to add a custom design to your helmet, now is the time:
- Use stencils: Stencils can help you create clean lines and shapes.
- Freehand painting: If you’re confident in your artistic abilities, you can freehand your design.
- Decals: Consider using decals for a quick and easy way to add a design.
Applying the Clear Coat
A clear coat protects your paint job and gives it a glossy finish:
- Shake the clear coat: Shake the can vigorously before use.
- Apply thin coats: Apply several thin coats of clear coat, allowing each coat to dry completely before applying the next.
- Allow curing time: Give the clear coat ample time to cure for optimal durability.
Reassembling Your Helmet
Once the paint is completely dry, you can reassemble your helmet:
- Remove tape: Carefully remove the masking tape.
- Reattach parts: Reattach the visor, chin strap, and other accessories.
Safety Considerations
- Ventilation: Always work in a well-ventilated area to avoid inhaling paint fumes.
- Protective gear: Wear a respirator, gloves, and eye protection when painting.
- Helmet safety: Ensure the paint job doesn’t compromise the helmet’s structural integrity or impact resistance.
Understanding Helmet Materials
Before diving into the painting process, it’s essential to understand the type of material your helmet is made from. Different materials require different preparation methods:
- Thermoplastic helmets: These are the most common and are generally easier to paint.
- Fiberglass helmets: These offer better impact resistance but require more careful preparation.
- Carbon fiber helmets: Due to their complex structure, painting carbon fiber helmets is often not recommended.
Safety First: Helmet Integrity
Remember, a motorcycle helmet’s primary function is safety. Any modifications, including painting, should not compromise its structural integrity. Always prioritize safety over aesthetics.
Essential Tools and Materials
To achieve a professional-looking paint job, gather the necessary tools and materials:
- Fine-grit sandpaper
- Masking tape
- Drop cloths
- Respirator
- Gloves
- Safety glasses
- Primer
- Paint (base coat and clear coat)
- Thinner
- Paint spray gun (optional)
- Paintbrushes (optional)
Preparation is Key
Proper preparation is the foundation of a successful paint job:
- Disassemble the helmet: Remove the visor, chin strap, and any other removable parts.
- Clean the surface: Thoroughly clean the helmet with mild soap and water to remove dirt, grease, and wax.
- Sand the surface: Use fine-grit sandpaper to create a rough surface for the paint to adhere to.
Applying the Primer
Primer is essential for creating a smooth base for the paint:
- Choose the right primer: Select a primer specifically designed for plastics or helmets.
- Apply thin coats: Apply multiple thin coats of primer, allowing each coat to dry completely before applying the next.
- Sand between coats: Lightly sand between coats for a smoother finish.
Choosing Your Paint Scheme
Decide on the desired color scheme and design:
- Color selection: Consider the overall look of your motorcycle and personal preferences.
- Design inspiration: Look for inspiration from other helmets, motorcycles, or art.
- Masking techniques: Plan how you will use masking tape to create different sections or designs.
Applying the Base Coat
- Shake the paint can: Ensure the paint is thoroughly mixed.
- Apply thin coats: Apply multiple thin coats of paint, allowing each coat to dry completely before applying the next.
- Maintain even coverage: Use smooth, consistent strokes to avoid runs and drips.
Adding Design Elements
If you want to add custom designs, use stencils, freehand painting, or decals:
- Stencils: Create clean lines and shapes with stencils.
- Freehand painting: For artistic individuals, freehand painting offers endless possibilities.
- Decals: Add pre-made designs quickly and easily with decals.
Applying the Clear Coat
A clear coat protects the paint job and gives it a glossy finish:
- Choose a quality clear coat: Opt for a clear coat specifically designed for automotive or motorcycle use.
- Apply multiple thin coats: Apply several thin coats, allowing each coat to dry completely before applying the next.
- Allow curing time: Give the clear coat ample time to cure for optimal durability.
Reassembly and Curing
- Reattach components: Carefully reattach the visor, chin strap, and other parts.
- Curing time: Allow the helmet to cure completely before using it.
Safety Considerations
- Ventilation: Work in a well-ventilated area to avoid inhaling paint fumes.
- Protective gear: Wear a respirator, gloves, and safety glasses.
- Helmet integrity: Ensure the paint job doesn’t compromise the helmet’s safety.
Achieving a Professional Finish
While the basic steps of preparing, priming, painting, and clear coating are essential, several advanced techniques can elevate your helmet paint job:
- Wet sanding: Between coats of paint or clear coat, wet sanding with fine-grit sandpaper can remove imperfections and create a smoother surface.
- Color matching: If you’re trying to match an existing color, use a color matching system or consult a professional to achieve an accurate match.
- Clear coat layers: Apply multiple thin coats of clear coat for a deeper, more durable finish.
- Curing process: Understand the curing process of your paints and clear coat to ensure optimal durability.
Troubleshooting Common Issues
Even experienced painters encounter challenges. Here are some common issues and solutions:
- Runs and sags: Avoid applying thick coats of paint. Thin the paint according to the manufacturer’s instructions.
- Orange peel texture: This can be caused by improper spray gun settings or poor application technique. Experiment with different settings and practice your spray pattern.
- Dust particles: A clean environment is essential. Use a tack cloth to remove dust before applying each coat.
- Fish eyes: This is caused by contaminants on the surface. Clean the surface thoroughly before painting.
A Personalized Ride
Painting your motorcycle helmet can be a rewarding experience, resulting in a unique and personalized look. By following these steps and taking the necessary precautions, you can achieve a professional-looking finish.
Painting your motorcycle helmet is a rewarding project that allows you to express your individuality. By following these steps and prioritizing safety, you can create a custom helmet that stands out from the crowd.